
Pimacs - An Emacs UI for Pi
30 Aug 2026When GitHub Copilot first came out, I got free access; I used it for some time, and eventually I gave up. It was nice when the suggestion worked, but it was too tiring and distracting to continuously review the multi-line suggestions, and I figured it wasn’t worth the added mental effort.
Fast-forward a few years. We are now at a stage where most LLMs are good at following directions and making changes much faster than I could typically type. Unfortunately, most of these tools are primitive: they are either TUIs or tied to a specific editor.
Having used Emacs for a very long time, I don’t want to switch from it. I also want real Emacs integration, rather than running a TUI inside vterm or something like it. As much as possible, I also want to use a harness that isn’t controlled by an LLM provider, so it would be easier to switch providers without relearning everything. Pi seems to be the best fit for my description: it seems simple and extensible.
The missing part was the GUI for Pi. I can’t stand the constantly flickering terminal UI. So I decided to write the UI myself.
Earlier software development mostly involved thinking, typing, debugging, and reviewing other people’s code. Nowadays, typing has gone down significantly, and debugging has gone down as well. LLMs are good at searching for and locating mistakes; they are also pretty good at iterating and finding bugs given the correct setup. The biggest bottleneck left is access control. LLMs can’t be given production access to debug issues.
Now the thinking and reviewing part takes most of my time. Review usually means going through diffs, jumping to the source, and seeing what has changed. We used to review other developers’ code; now we review LLM suggestions continuously all day. Magit is probably the best tool out there for reviewing and understanding code changes. It provides a nice way to look at diffs, jump to the source, and open commits, etc.

The Magit UI is surprisingly simple to learn. It’s read-only and made of sections. You can move around and use TAB to toggle the section open and closed. When you close a section, only the first line of the section is visible. The fringe at the left shows whether a section is open or closed. Sections are hierarchical and can be nested. All the typical keyboard shortcuts you are used to in a normal buffer work. Pressing Enter does the sensible thing: it takes you to the source file if you are looking at a diff, to the commit if you are looking at a commit line, etc.
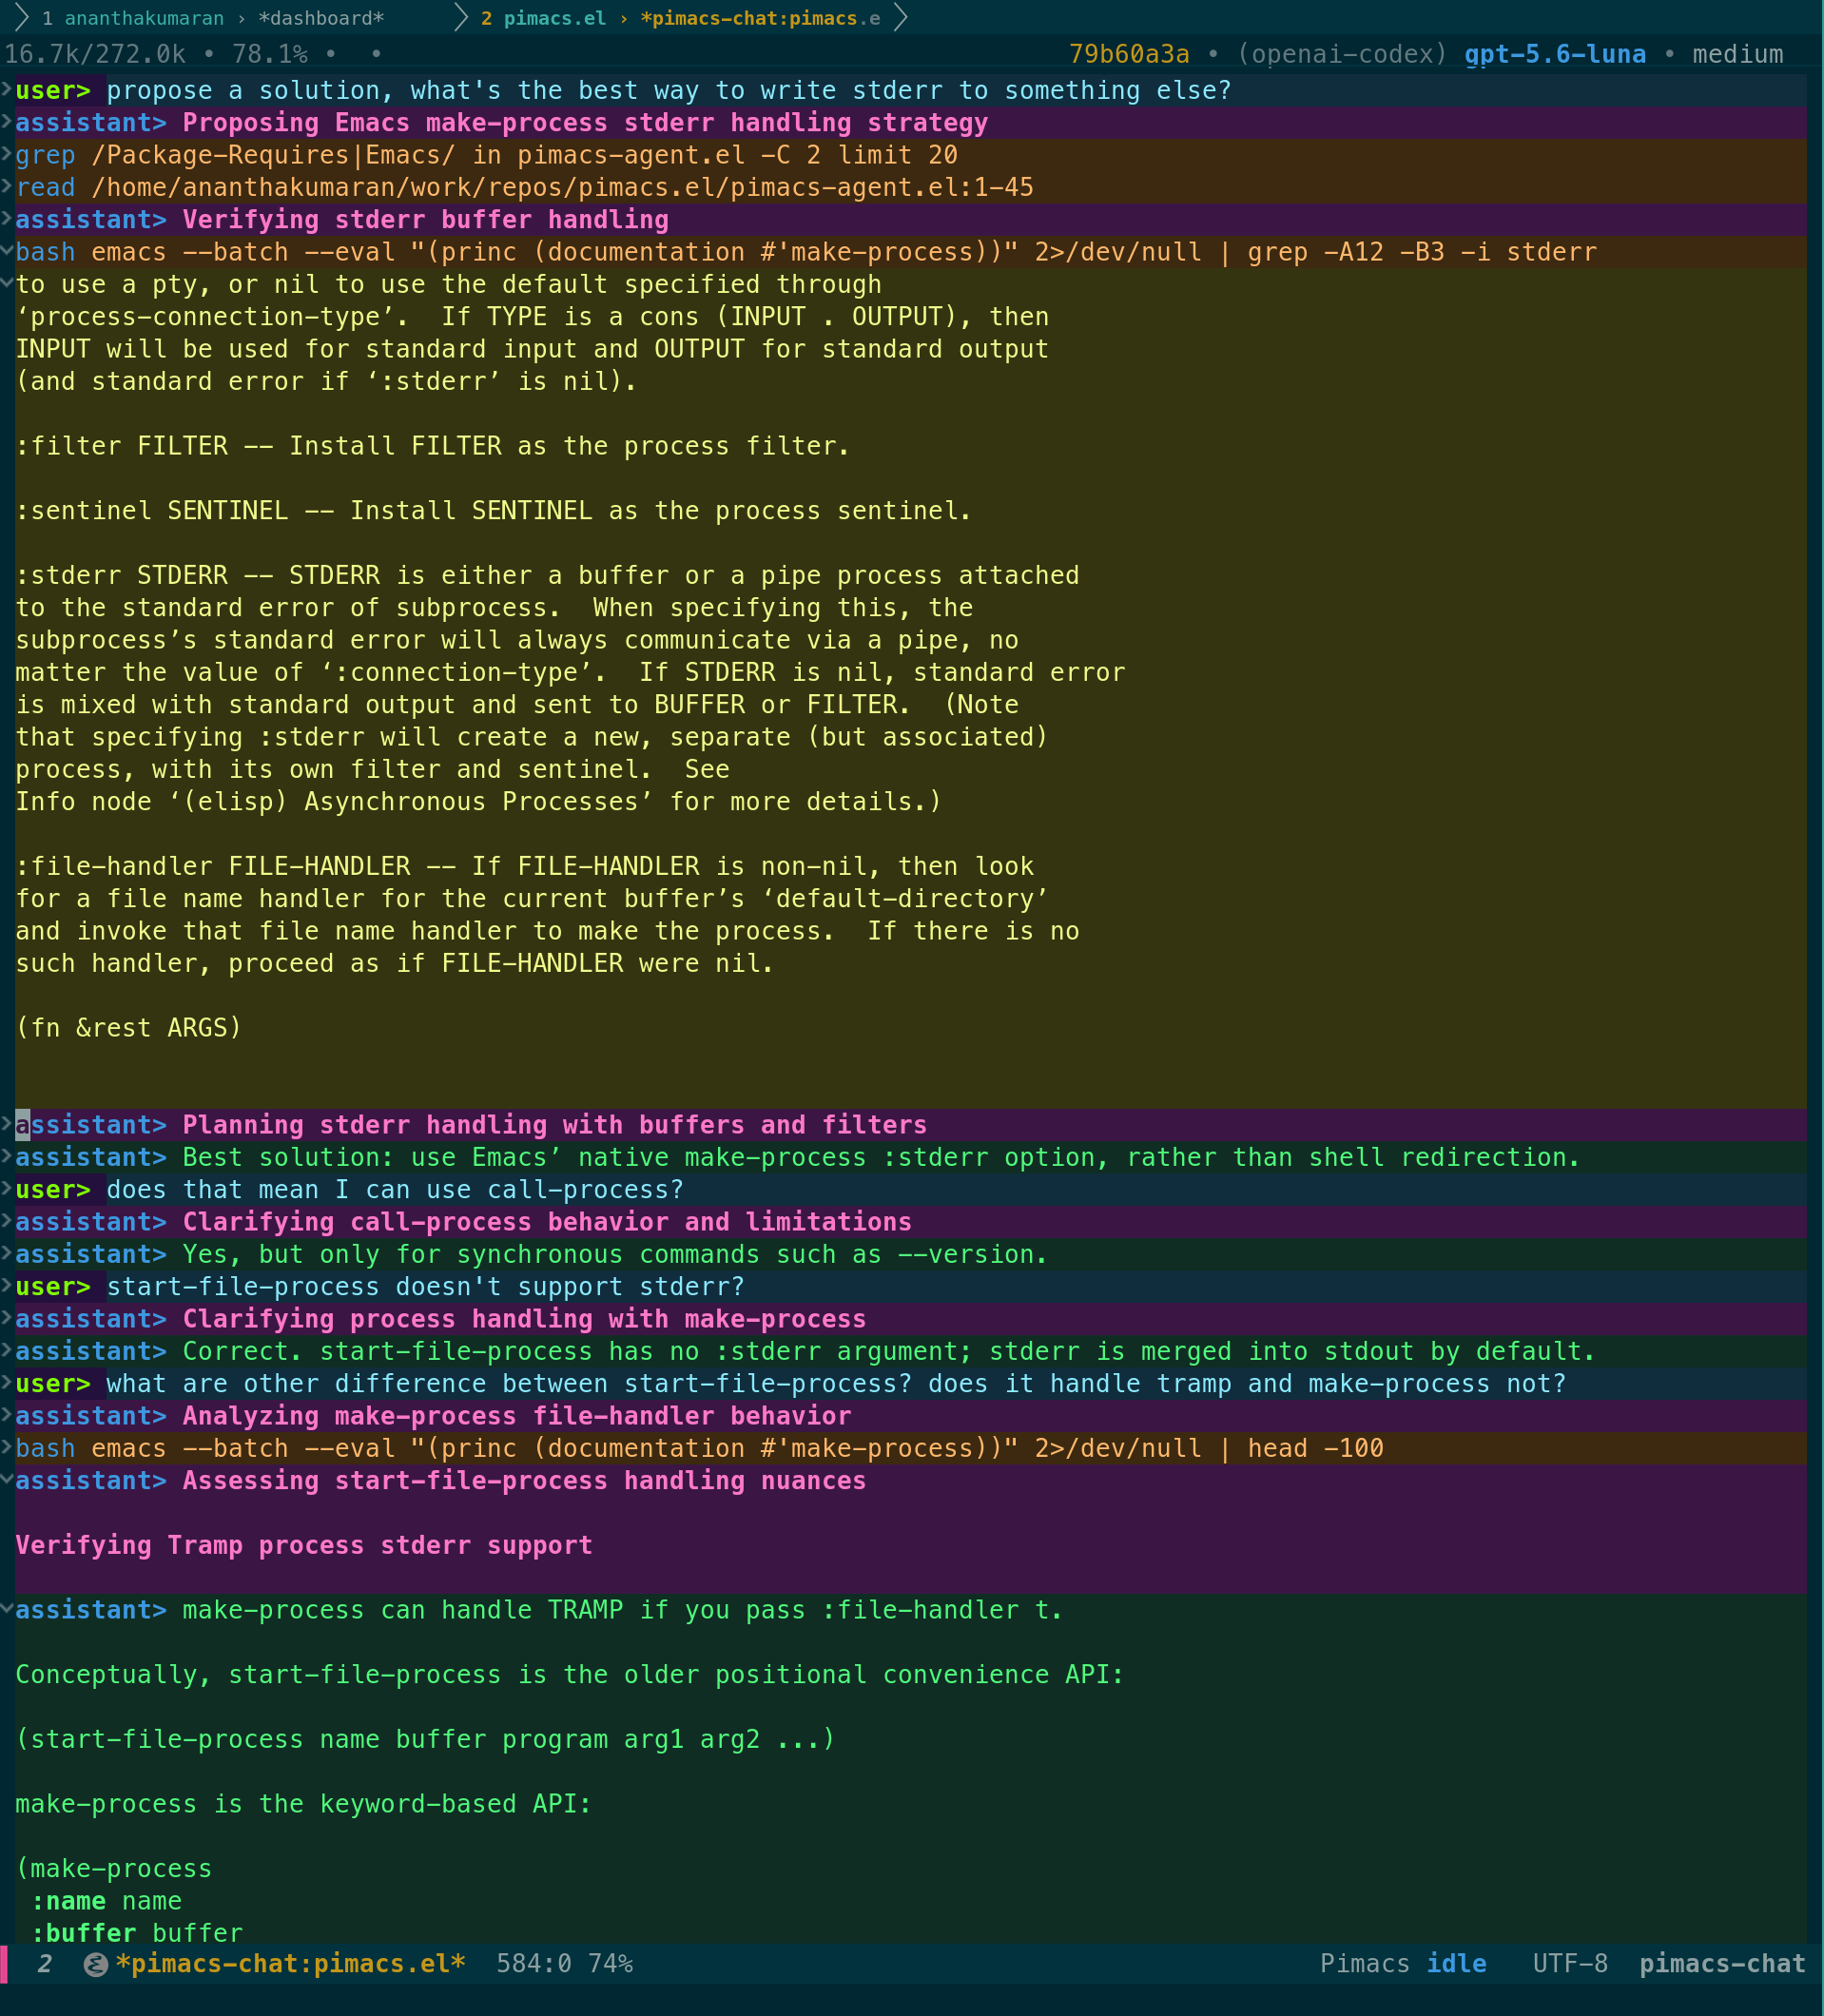
I decided to copy that UI. The Pimacs UI is quite simple; it has a sequence of sections followed by a prompt input box. All the sections are read-only; only the prompt is editable. Sections can be nested and can be toggled open or closed. Pressing Enter will take you to the source file.

The Pi harness is surprisingly simple: it has user input, assistant thinking output, normal output, tool calls, and results. This nicely fits the sequence of sections. By default, Pimacs only keeps the last few sections open, and it auto-closes older sections. This is fully configurable; I personally keep the edit section always open.
Pi is designed to be extended to fit your workflow. I want to carry over as
much of it as possible to Pimacs. Pi extensions can make custom UI using ctx.ui methods. Pimacs supports many of them. The
following screenshot shows widget lines above and below the prompt
input and status indicators.

Emacs has the concept of a header line at the top and a mode line shown at the bottom. Pimacs allows you to fully customize both. I have personally written an extension to fetch my usage after each turn; it shows up in the header line.
If the default UI is not to your taste, you can change it as much as you like. Below is a screenshot to show what is possible. You can change the color of anything and customize it to fit any theme.
Unlike a TUI, Pimacs has no problem handling images. You can drag and drop an image into the buffer to send it to the agent, and it can render image responses from an LLM.

Tools are another area that you normally want to extend. Pi comes with a few basic tools. You may want to add your own tool and customize how it is rendered. Tool calls, result rendering, and visit functions are fully pluggable. For example, you can check out pimacs-extensions.
There are a few rough edges: some of the features are only available in the Pi TUI. Some of them are not available simply because they’re not exposed via the RPC protocol. The RPC situation is slowly improving. Some extensions might use custom UI APIs that only work on the TUI. Although this is annoying, I haven’t encountered any showstopper problems because of it, and I’ve been using Pimacs as my daily driver for the last couple of months.